Install on macOS
Every command on this page runs in Terminal, using Homebrew to install most of the eight tools from the previous page. Follow it top to bottom — some steps depend on the one before it finishing first. (On Windows? Skip to the Windows walkthrough instead.)
Installation instructions
Follow the following step in sequence. The installation process should take 30-60 minutes.
Step 1: Find Your Terminal
A computer terminal is a plain text window where you type direct commands to your computer using a keyboard, instead of clicking pictures, buttons, or icons with a mouse. It is like a direct text-only chat room with the core of your machine.
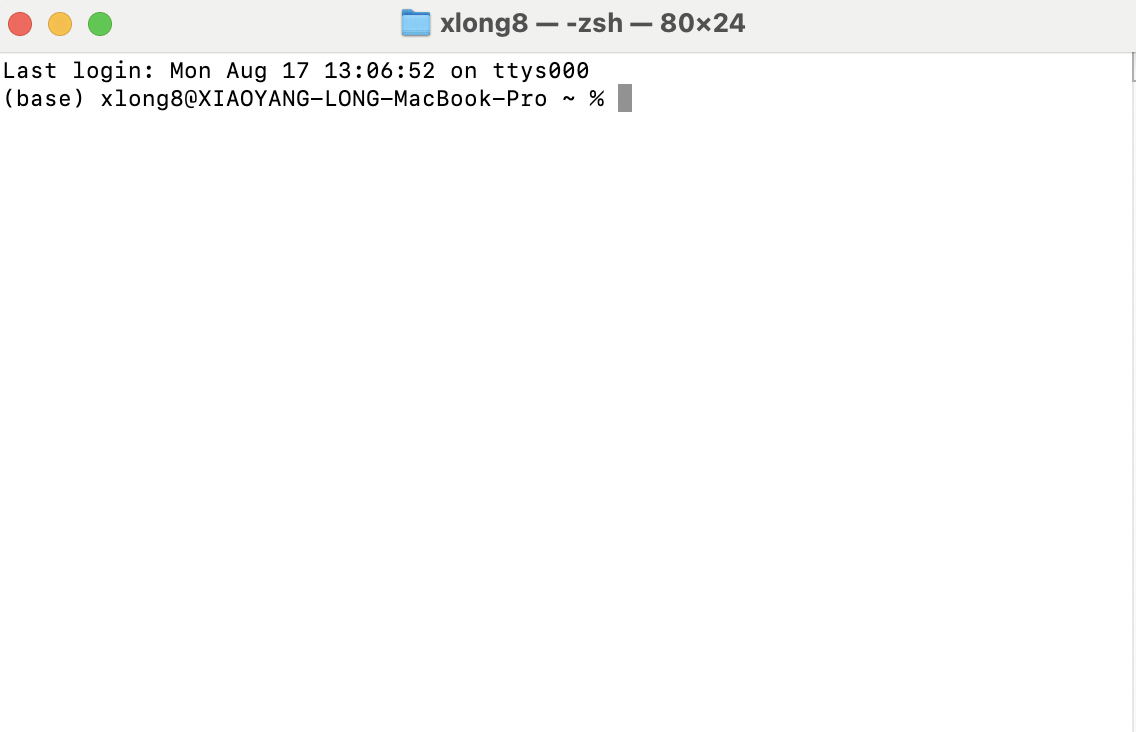
Press Cmd + Space to open Spotlight, type
Terminal, and press Enter. You'll see a prompt that
looks something like yourname@MacBook ~ %. ~
is shorthand for your home folder — it shows where you currently are.
% marks the end of the prompt — that's where you type.
| To do this | Do this |
|---|---|
| Run a command | Type it, then press Enter |
| Cancel whatever is running | Ctrl + C |
| Copy | Cmd + C |
| Paste | Cmd + V |
| Clear the screen | Cmd + K |
| Recall your last command | Up arrow |
Step 2: Xcode Command Line Tools
This step installs a small set of developer utilities (about 740 MB) — not the full Xcode app (10+ GB). You don't need Xcode itself for this course. Copy and paste the following text into your terminal and click enter.
xcode-select --installA dialog box will walk you through the rest. Verify once it's done by entering:
xcode-select -pA file path means it's installed; an error means the install above hasn't finished yet.
Step 3: Homebrew
Homebrew is a very popular tool for downloading software packages on Mac. Once it is installed, you can install other packages like Git, Node.js, VS Code, etc., through a single terminal command, without having to go to their respective official websites.
The install command below also lives on Homebrew's own website, brew.sh:
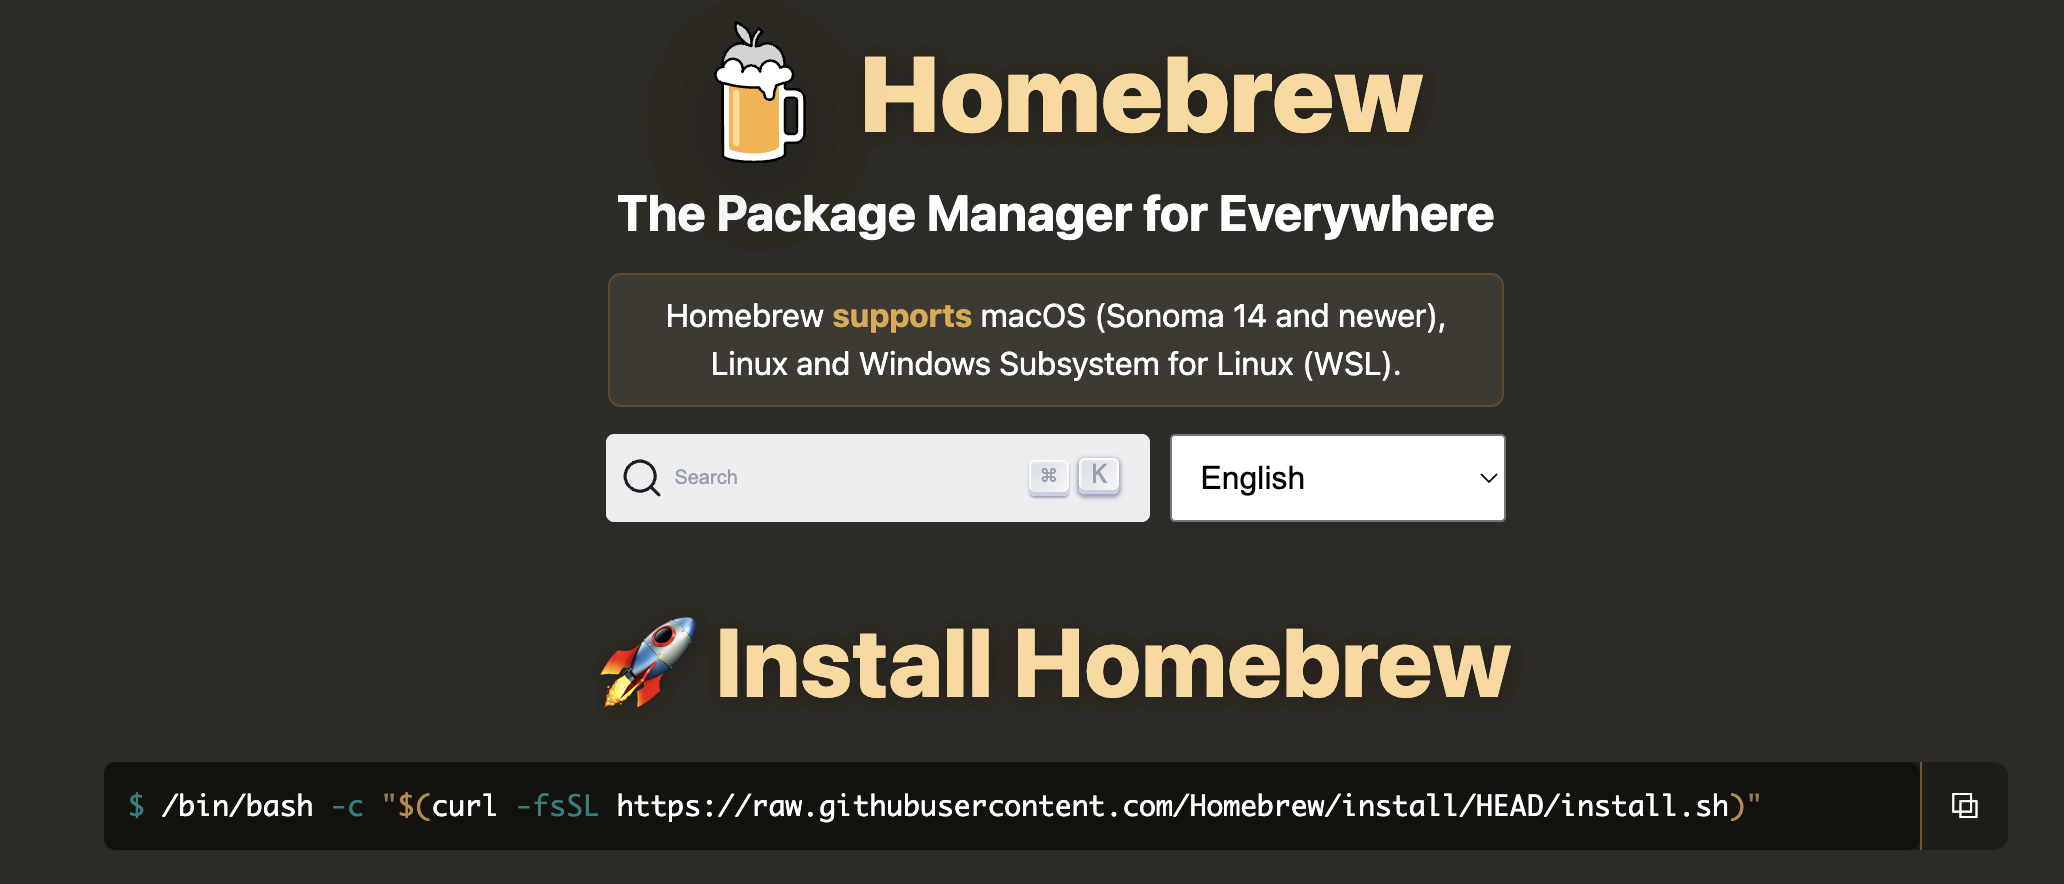
Open your terminal, copy and paste the following command, press enter:
/bin/bash -c "$(curl -fsSL https://raw.githubusercontent.com/Homebrew/install/HEAD/install.sh)"You will now be prompted to enter your computer password. Keep in mind that nothing will appear on the screen while you type---this is normal and a safety measure. Press enter when you are done.
Additional step for Apple Silicon Macs (M1 or later), Homebrew installs to
/opt/homebrew, which isn't on your PATH by default. Run
these two lines once, exactly as shown, to fix that:
echo 'eval "$(/opt/homebrew/bin/brew shellenv)"' >> ~/.zprofile
source ~/.zprofileVerify:
brew doctor
brew --version
brew doctor should say "Your system is ready to
brew."
Step 4: Node.js, Git, Pandoc, VS Code, and Miniconda — all at once
With Homebrew in place, most of the remaining list is one command.
Command-line tools install plainly; applications with a window (VS Code,
Miniconda) install as --cask:
brew install git node pandoc
brew install --cask visual-studio-code miniconda
This takes a few minutes. Verify each one:
git --version
node --version
npm --version
pandoc --version
code --version
(Miniconda's own conda --version check comes later, once
it's initialized below — running it now, before that step, won't work
yet.)
Step 5: Claude Code
Install it with:
npm install -g @anthropic-ai/claude-codeVerify:
claude --versionStep 6: Finish Git and Python setup
Two tools need a one-time configuration step before they're ready to use.
Git needs to know who you are, so it can label the changes it tracks. Enter the following command in your terminal (replace name and email with your own information):
git config --global user.name "Your Name"
git config --global user.email "your@email.com"
For example:
git config --global user.name "Jamie Chen"
git config --global user.email "jamie.chen@university.edu"Verify:
git config --global --listConda needs to hook itself into your shell:
conda init zshClose Terminal and reopen it. Your prompt should now start with
(base) — that means conda is active. Verify:
conda --version
python --version
Step 7: Confirm everything
In a fresh Terminal window, run all of these. Each should print a version number:
git --version
node --version
npm --version
conda --version
pandoc --version
code --version
claude --version
macOS: frequently asked questions
macOS says an installer is from an "unidentified
developer" — what do I do?
Go to System Settings → Privacy & Security and click "Open Anyway"
next to the blocked item.
Homebrew is installing very slowly.
This is usually just a slow connection to GitHub. Let it finish rather
than restarting partway through — restarting usually makes it slower,
not faster.
Terminal asked for my Mac password during an install — is
that normal?
Yes. Several of these installers need permission to make system-level
changes, so a password prompt partway through is expected, not a sign
something went wrong.
A command says "not found" right after I installed it.
Close Terminal and reopen it. Installers update your PATH, but a Terminal
window that was already open won't see the change.