Appendix: OpenCode
Claude Code is this course's tool of choice, but it isn't the only agent that runs in a terminal. OpenCode is a free, open-source alternative worth knowing about. This page is optional — read it if you're curious how another tool compares, or skip ahead to Module 4.
What you'll be able to do
Install OpenCode, launch it from VS Code's integrated terminal, connect it to a model provider, and know how it differs from Claude Code.
OpenCode vs Claude Code
OpenCode and Claude Code solve the same basic problem — an AI agent that reads and edits files from a terminal — but they're built with different priorities. OpenCode is provider-agnostic: it can connect to Anthropic's models, but also OpenAI's, Google's, or a dozen others, which makes it a low-cost way to try several providers before committing to one. Claude Code is built by Anthropic specifically for Claude, and trades that flexibility for deeper project features — Skills, sub-agents, and hooks among them.
| Aspect | OpenCode | Claude Code |
|---|---|---|
| Model support | Many providers — Anthropic, OpenAI, Google, and others | Anthropic's models only, tightly integrated |
| Getting started | Pick a provider and go | One account, one login, more built-in structure |
| Cost | Free by default (OpenCode Zen); paid providers optional | Requires at least a Claude Pro subscription, or a metered API key |
| Project features | File, command, and web access | Adds Skills, sub-agents, hooks, and other collaboration tools |
Step 1: Install OpenCode
You already have Node.js installed from earlier in this module, so either command below will work regardless of OS. Mac users can also use Homebrew.
macOS (Homebrew):
brew install anomalyco/tap/opencodemacOS or Windows (npm):
npm install -g opencode-aiVerify:
opencode --versionStep 2: Launch it from a terminal
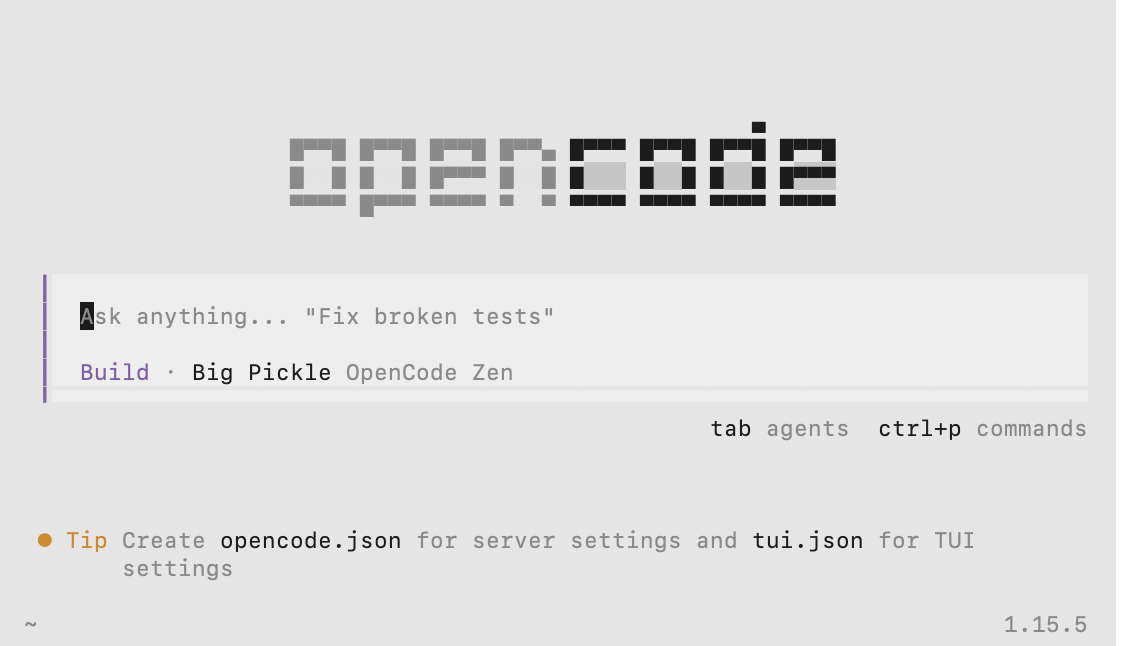
Open a terminal (such as your computer's default terminal or the VS Code one), then run:
opencodeThe interface will look like this:
(Optional) Step 3: Connect a model provider
Unlike Claude Code, OpenCode doesn't come wired to one company. You can choose which provider to talk to:
/connect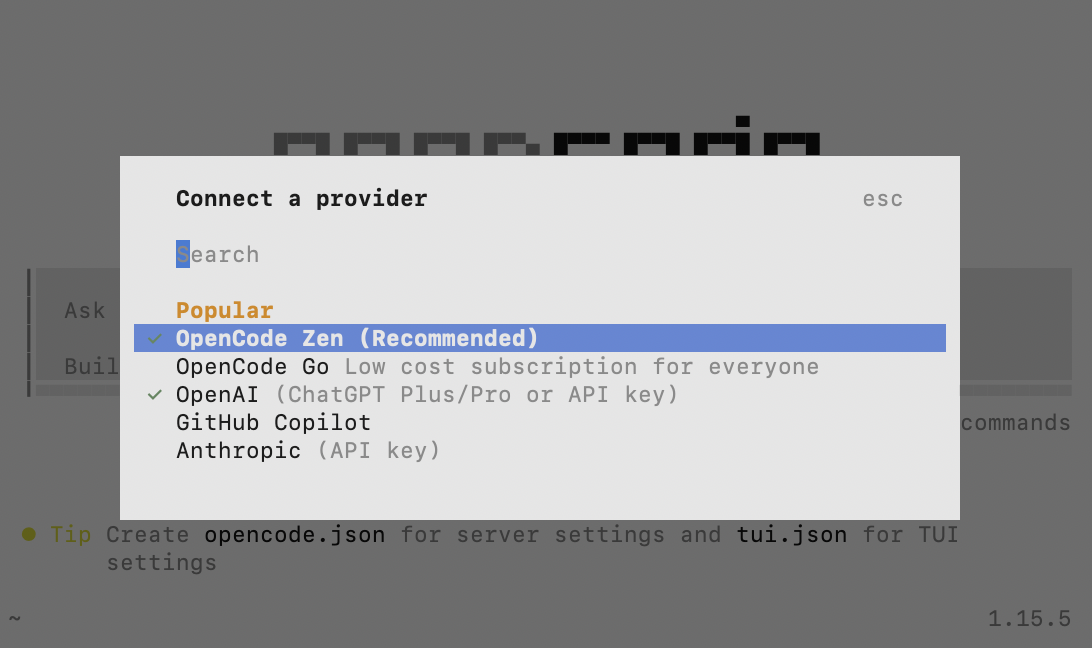
You can also choose to work in the default option without connecting to a provider. This approach does not require logins or an API key.
Step 4: Try a prompt
Try starting a conversation by asking it something — for example:
what is the weather in Madison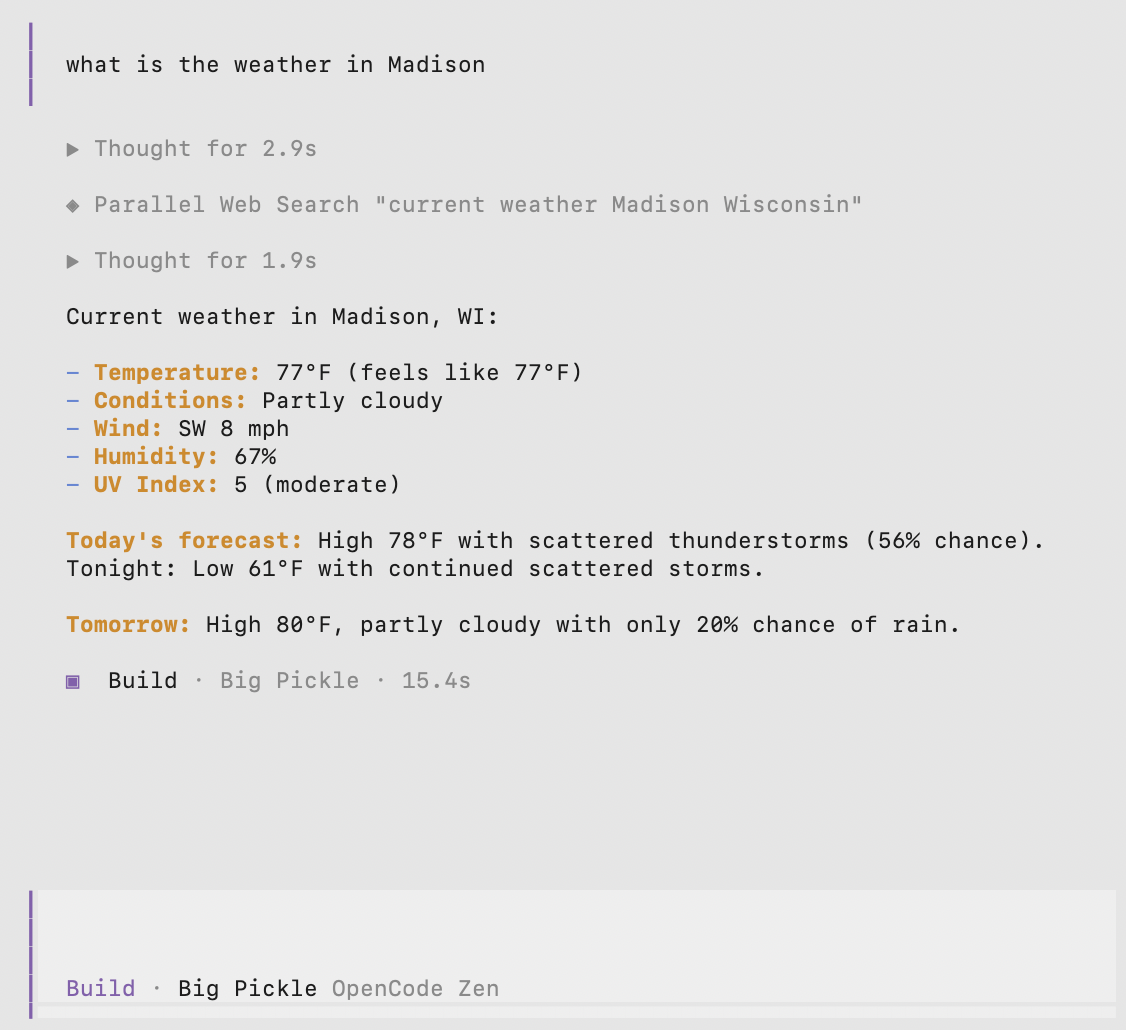
Useful commands
Type / in the input box to see the full list with
autocomplete. The ones you'll reach for most:
| Command | What it does |
|---|---|
/connect |
Add or switch a model provider |
/models |
View and switch which model you're talking to |
/new |
Start a fresh conversation, no prior context |
/compact |
Compress a long conversation once it's eating too many tokens |
/sessions |
Browse past conversations |
/undo / /redo |
Revert or restore file changes (needs Git) |
/init |
Generate a project instructions file, similar to Claude Code's CLAUDE.md |
/help |
Show the full command list |
/exit |
Quit OpenCode |